
If you’re a seasoned RVer, you know that proper black tank maintenance is essential for a smooth and pleasant RV life. Neglecting your black tank can lead to unpleasant odors, clogs, and even damage to your RV’s plumbing system. In this blog post, we’ll explore 10 proven steps to perfectly flush your RV’s black tank, ensuring a clean and trouble-free experience on the road.
Understanding the Importance of Regular Black Tank Maintenance
Maintaining your RV’s black tank with regularity is foundational to ensuring an optimal RV life experience. This habitual care plays a pivotal role in averting the common nuisances of clogs and persistent odors, which, if left unchecked, can swiftly escalate into more severe complications requiring expensive repairs. Effective maintenance transcends mere convenience; it acts as a preventive measure that safeguards the integrity of your plumbing system, thereby extending its service life. Embracing a routine flush regimen not only maintains the internal cleanliness of your black tank but also contributes significantly to the overall hygiene and comfort of your RV living environment. This discipline in upkeep is a critical element in fostering a sustainable and enjoyable RV lifestyle, free from the avoidable distractions of plumbing mishaps.
Pre-Flush Procedures to Keep in Mind
Before embarking on the flushing journey of your black tank, initiating the process with a set of preparatory steps is key. Begin by ensuring that the tank is completely devoid of waste; this foundational step is non-negotiable for an effective flush. Next, prioritize your safety and hygiene by donning gloves and protective gear, a simple yet critical action that shields you from potential contaminants. Additionally, establishing proper ventilation within your workspace cannot be overstated. This early preparation sets the stage for a successful and sanitary flushing process, paving the way for a seamless transition into the main event of cleansing your RV’s black tank. Engaging in these pre-flush procedures not only facilitates a smoother operation but also significantly contributes to the overall efficacy and efficiency of your maintenance efforts.
The Right Chemicals for the Job
Navigating the vast landscape of black tank chemicals might seem daunting at first, but pinpointing the appropriate substances is pivotal for an impeccable maintenance routine. Opt for eco-friendly, RV-approved solutions designed to efficiently decompose waste while neutralizing foul odors, without inflicting harm on the ecosystem or corroding your vehicle’s intricate plumbing framework. These specialized agents play a crucial role, not just in the breakdown of solids and mitigation of unpleasant smells, but also in fostering a more sustainable approach to RV living. By judiciously selecting the correct concoctions, you not only contribute to the seamless functionality of your black tank but also endorse environmentally responsible practices that resonate with a conscientious RV life ethos.
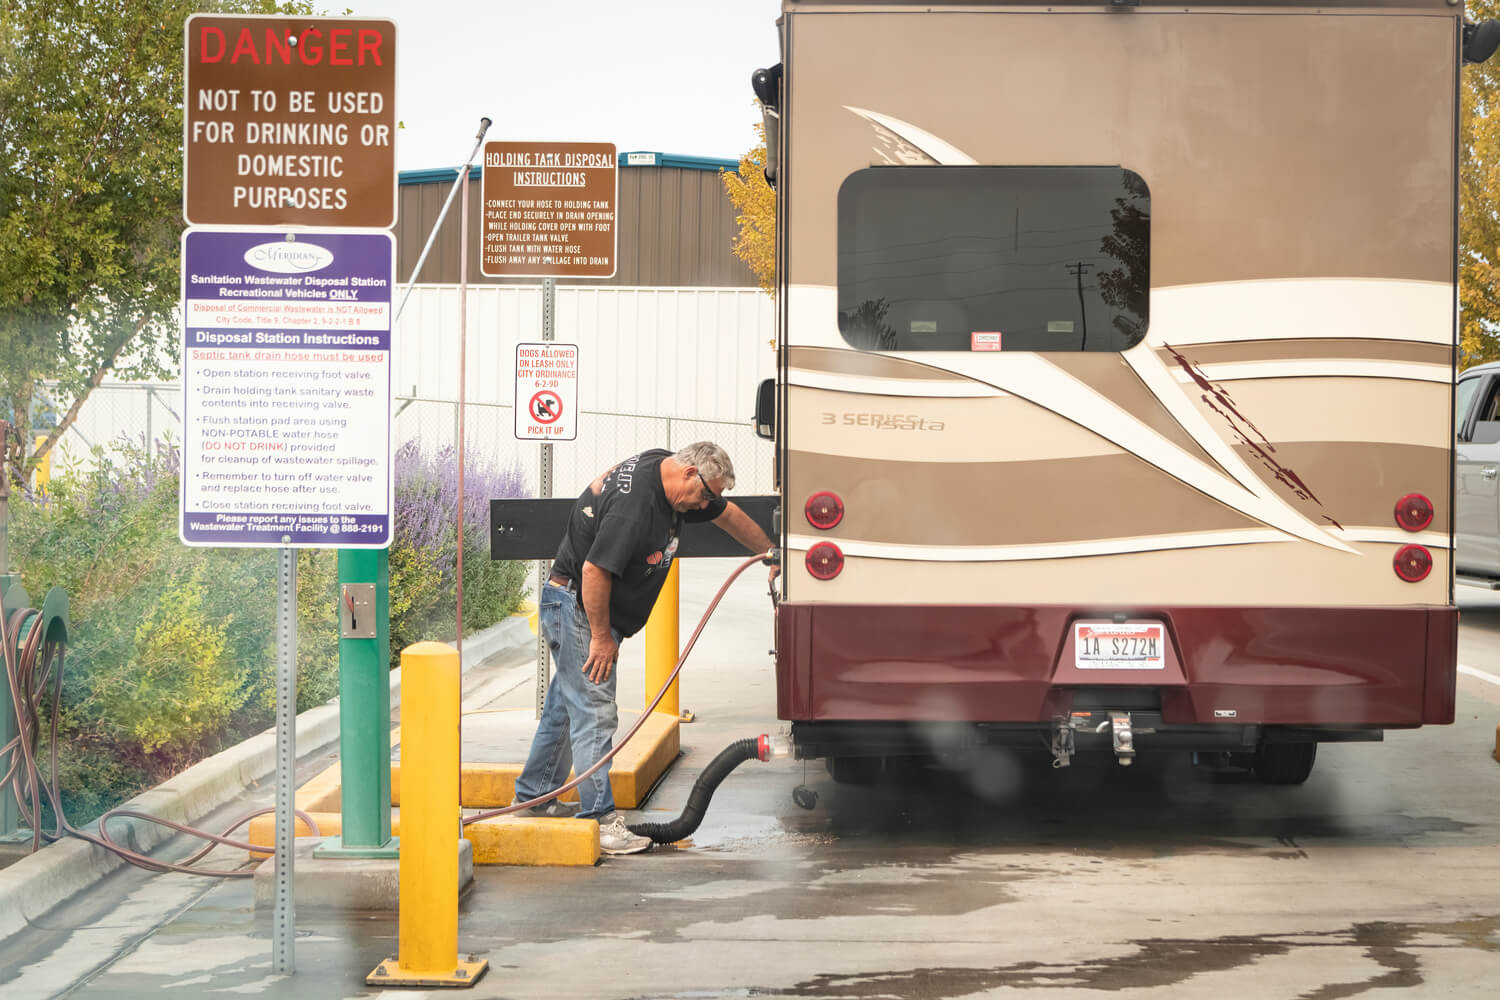
Connecting Your RV to a Sewage System Properly
Ensuring a flawless connection between your RV and the sewage system is a cornerstone of efficient black tank maintenance. Select the appropriate hose and fittings with meticulous attention to detail, aiming to create a secure and leak-proof linkage. This step is paramount not only in preventing unwanted spills but also in safeguarding the environment from contamination. Establishing a tight and correct connection facilitates a smooth pathway for waste to exit the black tank, thus enhancing the effectiveness of the flushing process. Embrace this practice with diligence, as it forms an integral part of a responsible and hassle-free RV life, ensuring that each flush contributes to the seamless operation and sustainability of your RV’s sanitation system.
The Power of Water Flush Tools
Investing in quality water flush tools, such as an integrated sprayer or a high-pressure wand, is a game-changer in maintaining the pristine condition of your black tank. These devices excel in agitating and thoroughly rinsing the interior surfaces of your tank, dislodging remnants that traditional flushing methods might miss. The strategic use of these tools can significantly enhance the effectiveness of your flushing process, ensuring a more comprehensive clean. Their ability to reach into the nooks and crannies of your tank, breaking up waste and paper, is instrumental in preventing potential clogs and maintaining optimal tank health. Embracing the utility of water flush tools not only elevates the cleanliness of your system but also aligns with a proactive approach to RV maintenance, setting the stage for smoother travels and a more enjoyable RV life experience.
The Role of Adequate Water Usage
The essence of a successful black tank flush pivots significantly on the judicious use of water. A liberal yet discerning application ensures that waste materials are sufficiently diluted, promoting a seamless expulsion from the tank. This step is crucial; economizing on water not only risks the integrity of the flushing process but also sets the stage for potential blockages and the accumulation of residual waste. It’s a balance, where the objective is to use enough water to facilitate a thorough cleanse without unnecessarily depleting your resources. Embracing this approach enhances the flushing process’s efficiency, underpinning a key aspect of proactive black tank management. It underscores the importance of strategic resource utilization in maintaining an effective and environmentally responsible RV lifestyle.
Timing Your Flush Right
Timing your flush strategically plays a crucial role in the overall effectiveness of cleansing your RV’s black tank. A cardinal rule in this endeavor is to initiate the flushing process only when the tank is approximately 2/3 full. This is not a trivial detail; it ensures that the volume of water present is sufficient to generate the necessary pressure for an efficient and thorough expulsion of waste. Flushing at this optimal capacity leverages the natural force of gravity and water pressure in your favor, facilitating a clean sweep of the tank’s contents. This principle of timing does not only optimize the flushing efficiency but also aligns with the conservation of water—a critical resource in RV life. Adhering to this practice is a testament to thoughtful and effective RV maintenance, ensuring your black tank is managed in a manner that upholds both performance and environmental responsibility.
Monitoring for Leaks and Damage
Vigilance in checking your black tank for any signs of wear or breach is a preventative measure that cannot be overstated. Initiating a routine inspection for leaks, cracks, or any form of damage is more than just a maintenance activity; it’s a proactive approach to ensure the longevity and functionality of your RV’s sanitation system. Addressing these issues promptly when they arise is critical, as even minor leaks can evolve into substantial problems if neglected. This scrutiny is not merely about maintaining a system’s efficiency but about preempting potential failures that could lead to inconvenient and often expensive repairs. By incorporating these checks into your regular maintenance schedule, you safeguard your RV against unforeseen complications, ensuring a seamless and worry-free RV life.
Ensuring Proper Ventilation During and After Flushing
Maintaining a breathable atmosphere within your RV during and after the black tank flushing process is not merely a comfort measure but a necessity for health and hygiene. Initiating this step by opening windows and utilizing ventilation systems allows for the displacement of any residual odors, replacing them with fresh air. This action is not only pivotal in preserving the air quality inside your RV but also in ensuring a conducive environment for those within. By strategically allowing air to circulate, you mitigate the risk of odor entrapment, thereby enhancing the overall experience of RV living. Emphasizing ventilation underscores a commitment to a meticulous and considerate approach to RV maintenance, one that acknowledges the subtleties of creating and maintaining a pleasant living space.
Post-Flush Practices for Longevity
Culminating the black tank flushing process with diligent post-flush practices is crucial for sustaining its cleanliness and extending its lifespan. Initiating with the introduction of a high-quality tank treatment is a strategic move. This action is not merely about odor control; it serves a dual purpose by also preventing the undesirable buildup of waste materials. Equally important is the practice of keeping the tank sealed when not actively in use. This simple yet effective step contributes significantly to maintaining an optimal internal environment, preventing the ingress of external elements that could compromise the tank’s integrity. Incorporating these measures into your routine post-flush protocol is an investment in the health of your RV’s black tank, ensuring its readiness for future adventures and contributing to a hassle-free RV life.
Troubleshooting Common Issues
Navigating through challenges such as clogs, persistent odors, or leaks within your black tank, despite adhering to best practices, is an aspect of RV maintenance that demands attention. These complications, while frustrating, often signal the need for a deeper dive into your maintenance routine or possibly a reassessment of your flushing techniques. It’s crucial to approach these issues with a problem-solving mindset, considering each as an opportunity to fine-tune your approach to black tank care. Consulting your RV’s user manual can provide specific guidance tailored to your model, while seeking advice from experienced professionals offers insights beyond generic solutions. Remember, the objective is not just to address the immediate inconvenience but to ensure the ongoing health and functionality of your black tank, thereby supporting a seamless RV lifestyle.